Python/OpenCVで輪郭検出と輪郭内領域の塗りつぶし
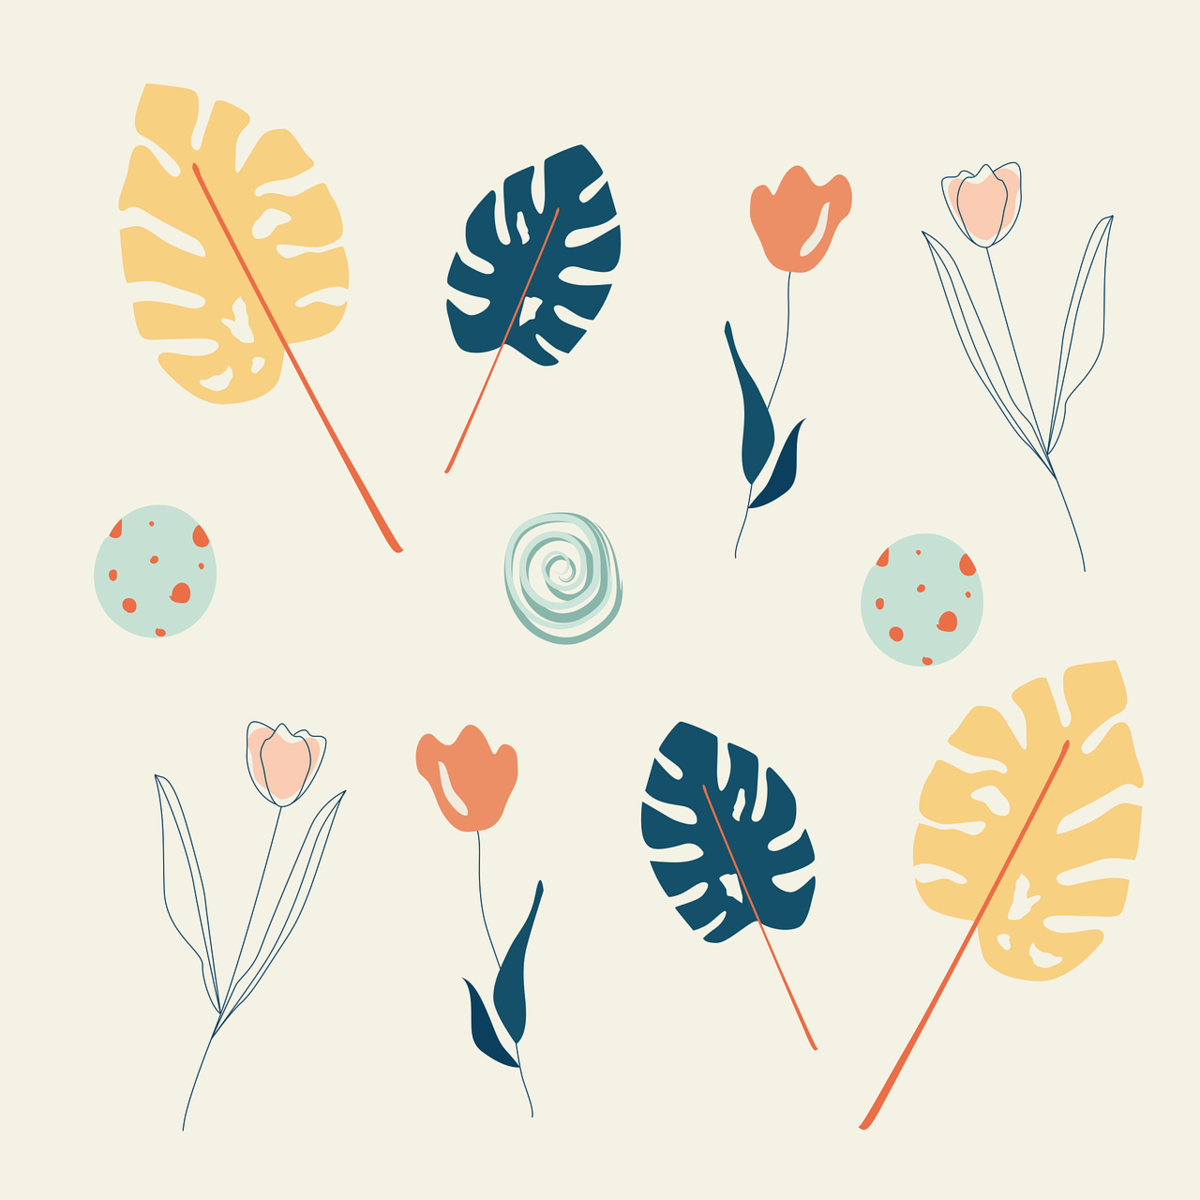
今回はPythonとOpenCVを使って、「輪郭検出」と「検出した輪郭内の塗りつぶし」処理を行ってみたいと思います(画像は著作権フリーのものを使用しています)。
https://pixabay.com/ja/vectors/%e3%83%91%e3%82%bf%e3%83%bc%e3%83%b3-%e8%91%89%e3%81%ae%e3%83%91%e3%82%bf%e3%83%bc%e3%83%b3-%e7%be%8e%e8%a1%93-6854140/

まずは以下のライブラリをインポートします。
import numpy as np
import cv2
import matplotlib.pyplot as plt
from copy import deepcopy
import statistics
続いて、画像を読み込みます。
img_BGR = cv2.imread("image.png")
img = cv2.cvtColor(img_BGR, cv2.COLOR_BGR2RGB)
輪郭を検出するためには、対象領域を表すマスク画像(2値画像)が必要になります。今回の画像は背景色が一様なので、その値かどうかでマスク画像を作成できます。まず、背景色を求めるために最頻値を算出してみます(RGBセットで最頻値を算出したいのですが、良い方法が見当たらなかったので、RGBそれぞれで計算してから確認する方法をとっています)。
#最頻値を調べる
R_mode = statistics.mode(img[:,:,0].flatten())
print(R_mode)
G_mode = statistics.mode(img[:,:,1].flatten())
print(G_mode)
B_mode = statistics.mode(img[:,:,2].flatten())
print(B_mode)

#実際の画素値を見て確認してみる
print(img[0,0,:])
print(img[10,10,:])
これで背景色が(244,242,228)であることが分かりました。続いて、対象画像と同じサイズの配列(チャネル1、要素0)を用意し、最頻値でない箇所は255に変換します。
mask = np.zeros((img.shape[0], img.shape[1]))
mask[(img[:,:,0] != R_mode) & (img[:,:,1] != G_mode) &  (img[:,:,2] != B_mode)] = 255

このマスク画像を用いて、輪郭を検出します。
# 輪郭の検出
contours, hierarchy = cv2.findContours(mask.astype("uint8"), cv2.RETR_LIST, cv2.CHAIN_APPROX_SIMPLE)
検出した輪郭を対象画像上に描画し保存してみます。ただし、小さい領域の輪郭に関しては今回除いています(面積で判定)。
for i in range(len(contours)):
    if cv2.contourArea(contours[i]) > (img.shape[0] * img.shape[1]) * 0.005:
        img_with_line = deepcopy(img_BGR)
        img_with_line = cv2.drawContours(img_with_line, contours, i, (0,255,0), 2)
        cv2.imwrite("result" + str(i) + "_line.png", img_with_line)

ちなみに、以下のようにすれば1つの画像上に検出した輪郭すべてを描画できます。
img_with_line = deepcopy(img_BGR)
for i in range(len(contours)):
    if cv2.contourArea(contours[i]) > (img.shape[0] * img.shape[1]) * 0.005:
        img_with_line = cv2.drawContours(img_with_line, contours, i, (0,255,0), 2)
cv2.imwrite('allresult_line.png', img_with_line)

続いて、塗りつぶしには「cv2.fillPoly」を利用します。
for i in range(len(contours)):
    if cv2.contourArea(contours[i]) > (img.shape[0] * img.shape[1]) * 0.005:
        img_with_area = deepcopy(img_BGR)
        img_with_area = cv2.fillPoly(img_with_area, [contours[i][:,0,:]], (0,255,0), lineType=cv2.LINE_8, shift=0)
        cv2.imwrite("result" + str(i) + "_area.png", img_with_area)

先ほどと同じように、以下のようにすれば1つの画像上にすべてを描画できます。
img_with_area = deepcopy(img_BGR)
for i in range(len(contours)):
    if cv2.contourArea(contours[i]) > (img.shape[0] * img.shape[1]) * 0.005:
        img_with_area = cv2.fillPoly(img_with_area, [contours[i][:,0,:]], (0,255,0), lineType=cv2.LINE_8, shift=0)
cv2.imwrite("allresult_area.png", img_with_area)

これで完成です。
おまけ
ちなみに、今回の画像は背景色が一様なので、背景色で塗りつぶすようにすればその模様を消すことが可能です。
for i in range(len(contours)):
    if cv2.contourArea(contours[i]) > (img.shape[0] * img.shape[1]) * 0.005:
        img_with_area = deepcopy(img_BGR)
        img_with_area = cv2.fillPoly(img_with_area, [contours[i][:,0,:]], (int(B_mode),int(G_mode),int(R_mode)), lineType=cv2.LINE_8, shift=0)
        cv2.imwrite("result" + str(i) + "_area_remove.png", img_with_area)
